A special hello to the folks at Reddit’s /r/diy and Ikea Hackers that keep building awesome things!!
Like most Digital Agencies, we love to build things. Many Developers will agree that there is real satisfaction in spending time on a project – crafting it in to a finished product that they can be proud to have built. But why limit yourself to websites and mobile apps? At Fast Fwd we build our own desks! People seem to love them and many have asked where we bought them from. There’s nothing like a big slab of solid oak to set pulses racing!
We’ve got a new employee starting with us soon, so I had to get another desk in. I took it as an opportunity to photograph the process for you, so you can see how it’s done. Feel free to reach out to us on twitter or Facebook and let us know what you think, or if you have any ideas for improvements on our next model!
What we’re aiming for
Here are some of our existing desks…
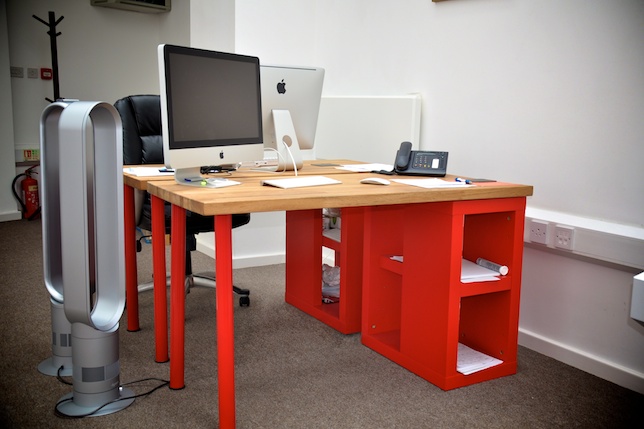
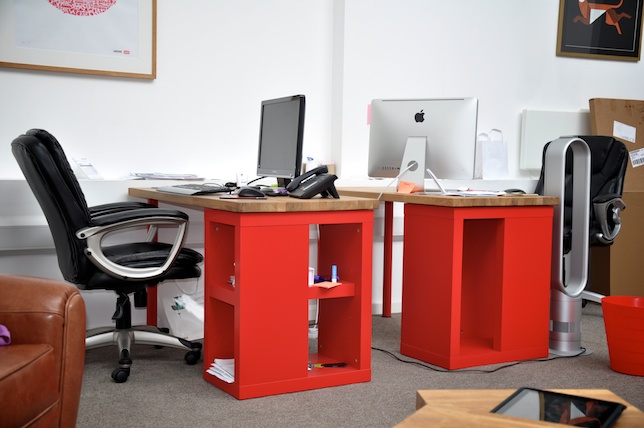
What you need
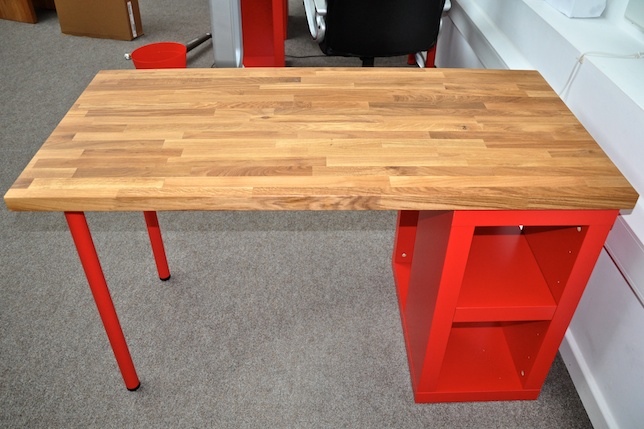
Our desks are an IKEA hack. They comprise of a solid Oak kitchen worktop, the VIKA ANNEFORS under-desk storage and two VIKA ADILS table legs.
For the worktop I chose NUMERÄR from IKEA, sized at 126cm x 62cm. Although any similarly sized worktop, from any timber merchant will do. I built a much larger fitted desk for a relative using a long kitchen worktop made from premium oak. The IKEA ones are good though, because they come pre-treated.
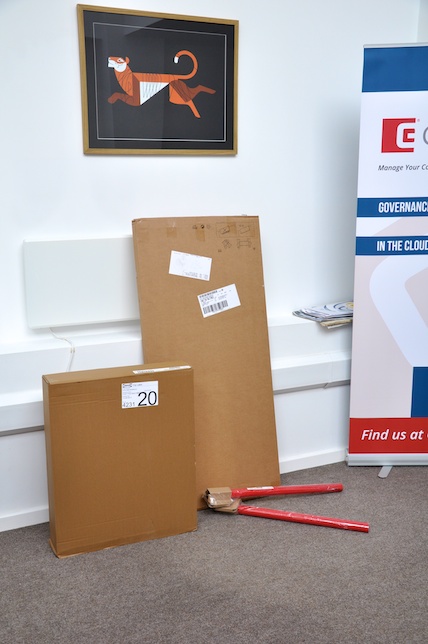
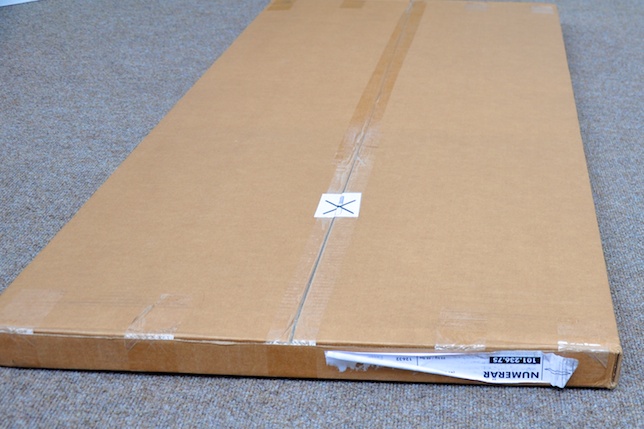
Here’s the delivery from IKEA. You’ll also need to source four 70mm multipurpose screws to fix the storage to the worktop.
The easy bit
Build the VIKA ANNEFORS as normal using all of the pieces provided:
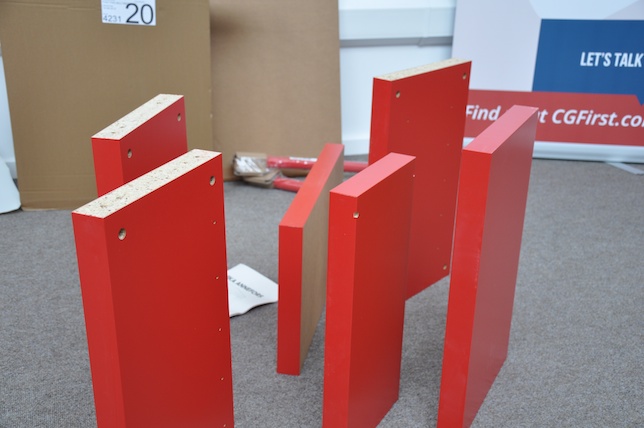
You’ll end up with this:
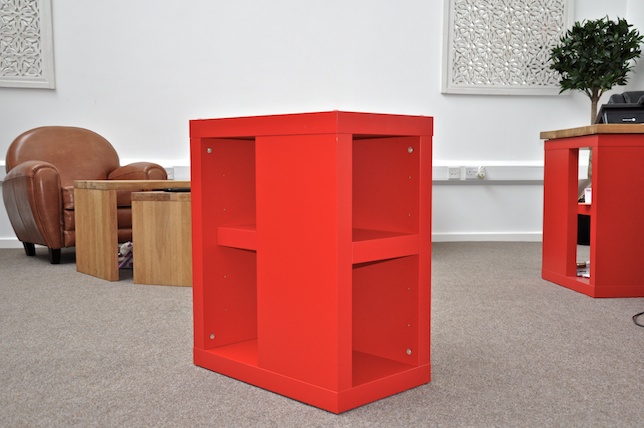
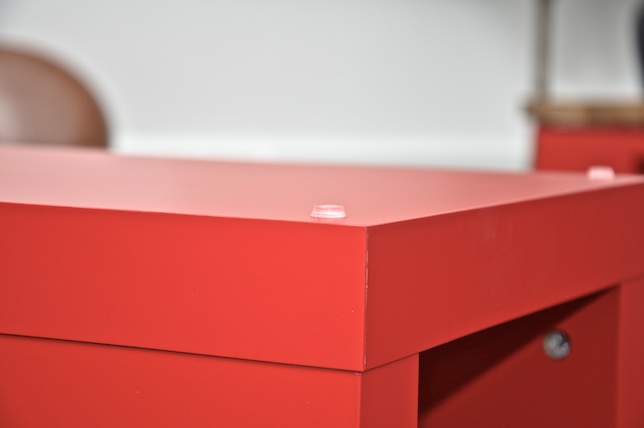
Be sure to use the little rubber things on the top, as they’ll support the worktop. You need them to provide height, to match the VIKA ADILS legs. Alternatively, you can fix a piece of plywood of similar thickness (c. 5mm) to the top, as it will not be visible.
Tea break
Now that the easy bit’s done, take a well earned tea break…

… and perhaps a biscuit or two?

Back to work
Unpack the worktop. Be careful when removing the packaging, to avoid scratching the wood. Don’t use a knife!
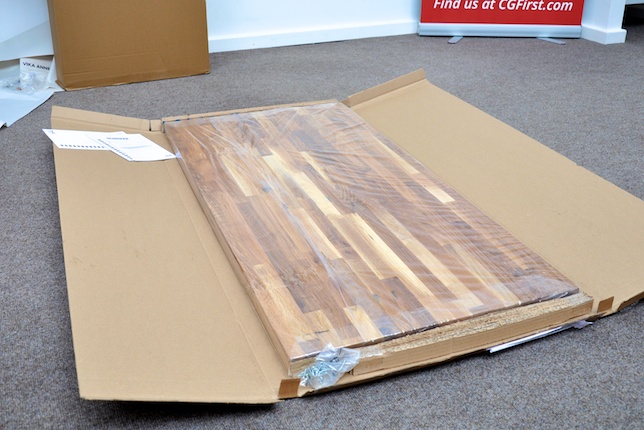
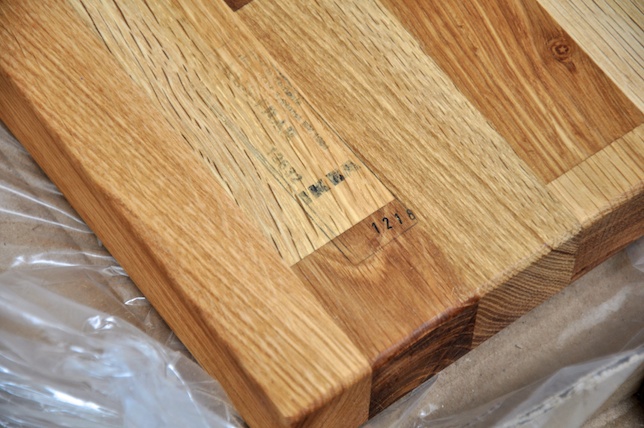
We need to make some holes, to screw the legs onto the worktop. Check which side of the worktop is most attractive, and be sure to mark out your holes on the other side. For example, IKEA worktops have a stamp on them, so you’ll want to use that as the underside of the desk.
Marking out
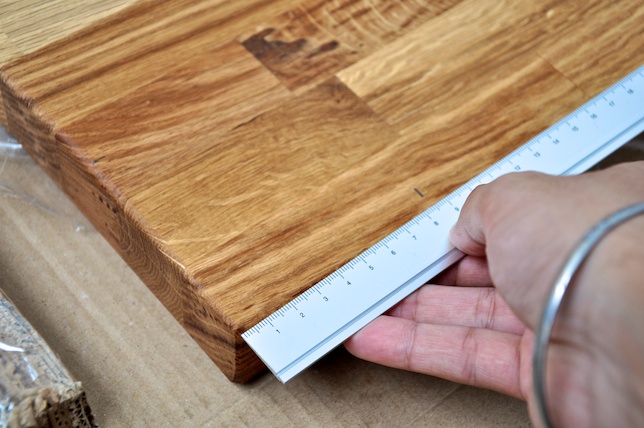
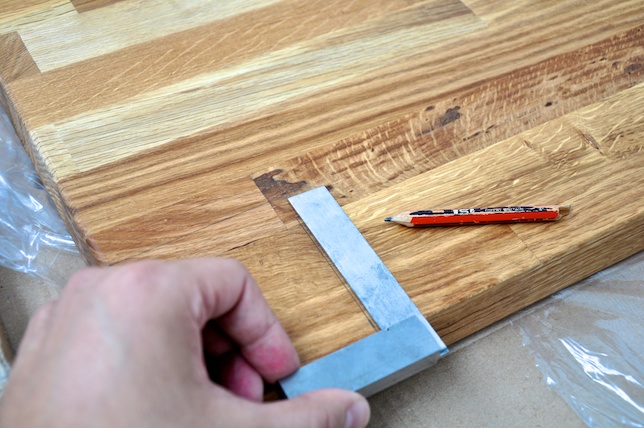
Use a rule, a pencil and a square to mark out the center position for the two VIKA ADILS legs. I chose 8.5cm square from the corner of the desk.
Oh and you’ll look and feel like a proper carpenter if you use a shortened pencil and sharpen the end yourself with a blade!
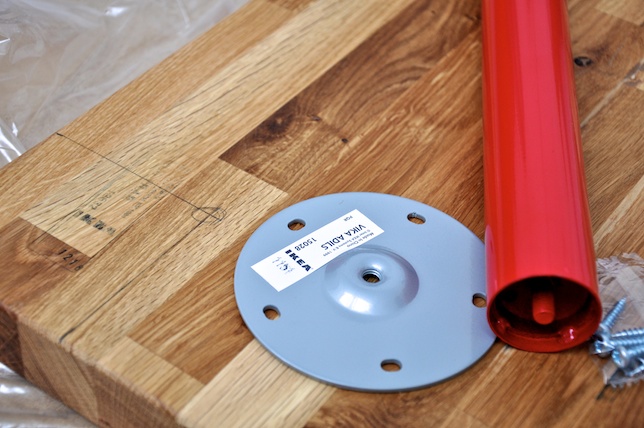
Align the baseplate for the VIKA ADILS leg with your marking, so the centres meet:
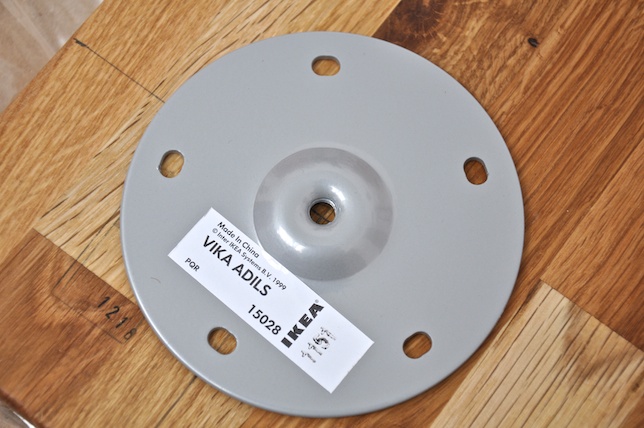
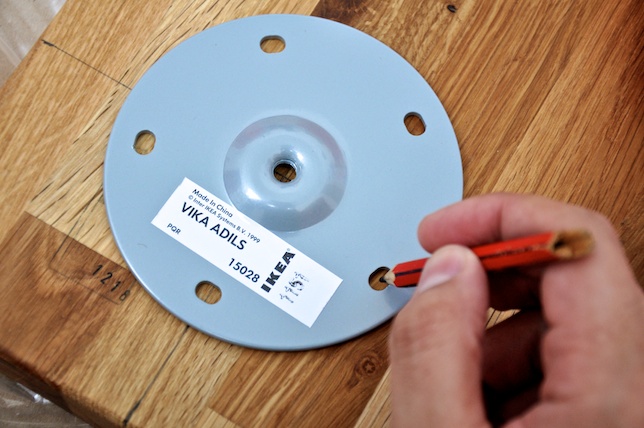
Next, mark out the centre of each hole as we’ll need to drill those shortly.
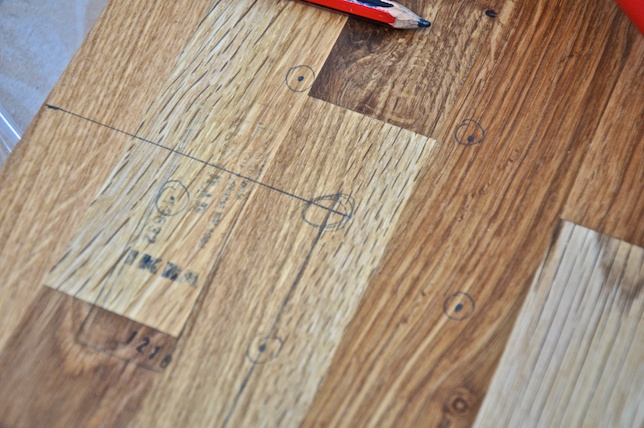
Safety First
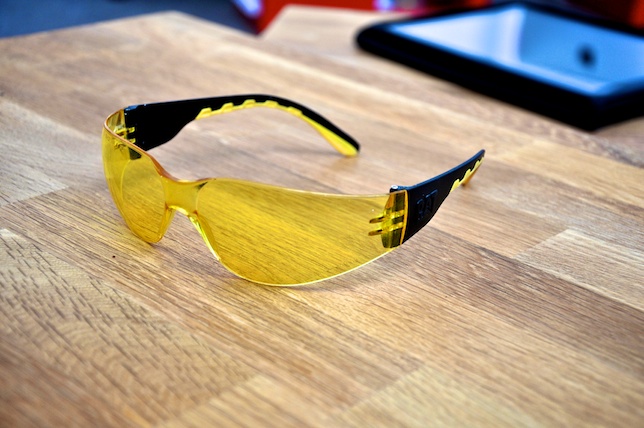
Protect your eyes before starting to drill.
Tool up
Choose an appropriate drill and bit to suit the diameter of the screws that come with the VIKA ADILS legs, then drill the holes. Watch your depth – don’t penetrate too far.
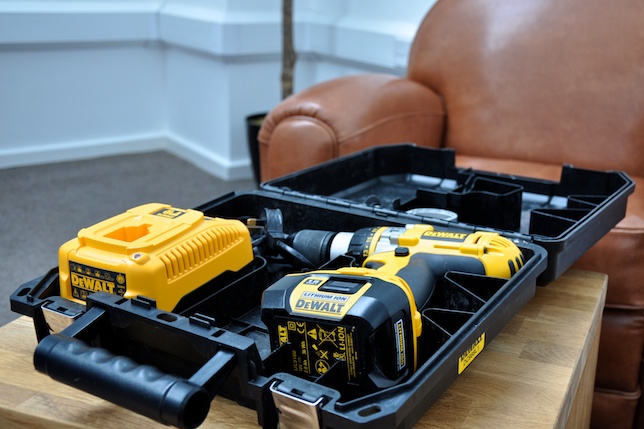
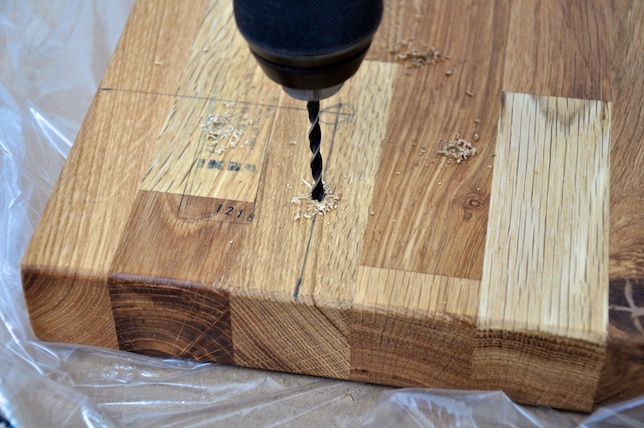
Screw it
Now fix the baseplate to the worktop using the screws provided.
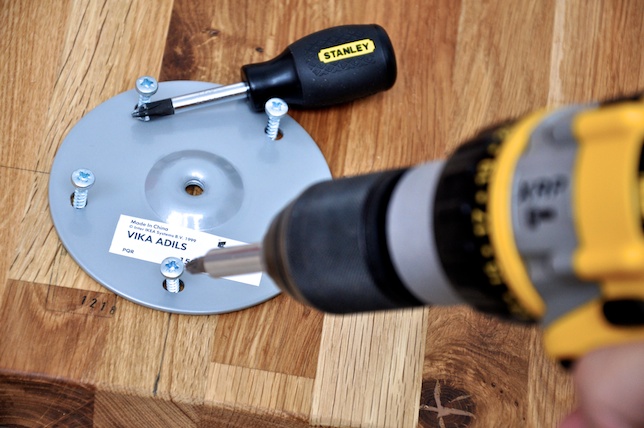
Then screw the VIKA ADILS leg to the baseplate.
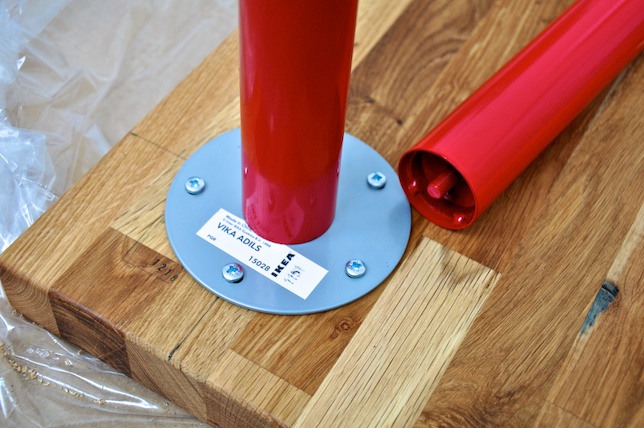
Attach the storage
Turn the VIKA ANNEFORS upside down and position it on the upturned worktop. You should use a rule to make sure it’s equidistant from the three nearest edges.
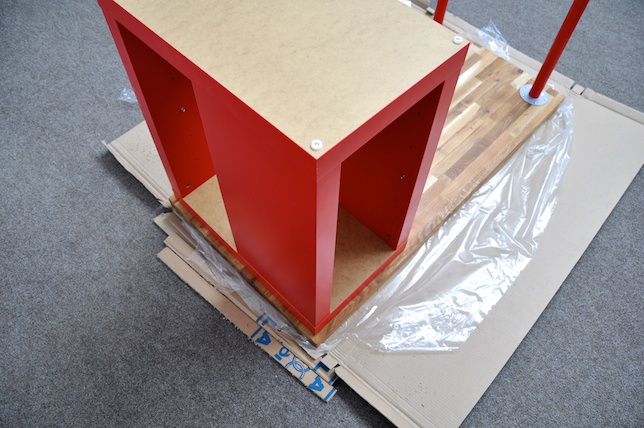
Mark four holes then use the drill with a sufficiently long drill bit to drill through the top of the storage and in to the worktop.
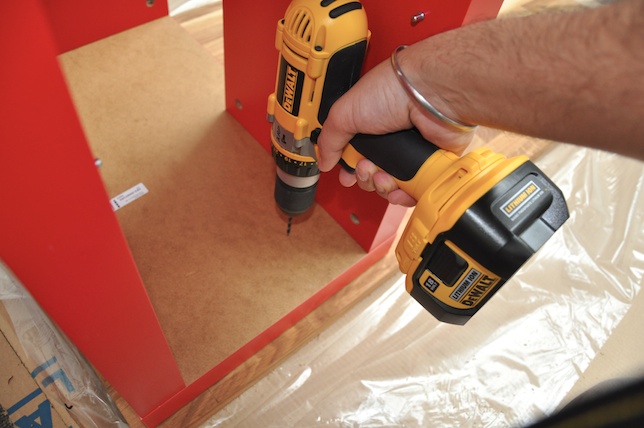
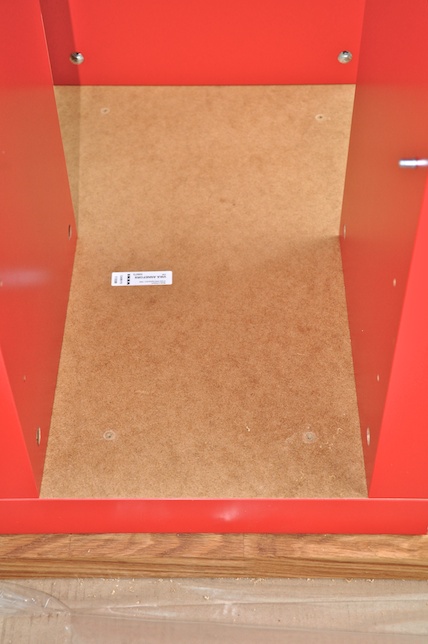
Use your 70mm screws to fix the storage to the worktop. For extra strength, you can cut a rectangle of plywood and fix that to the storage unit first, as you’ll notice that it’s hollow – you may find it easier to drill through and fix the screws.
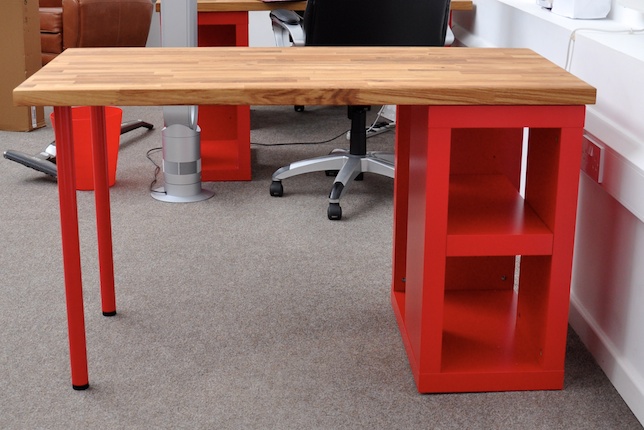
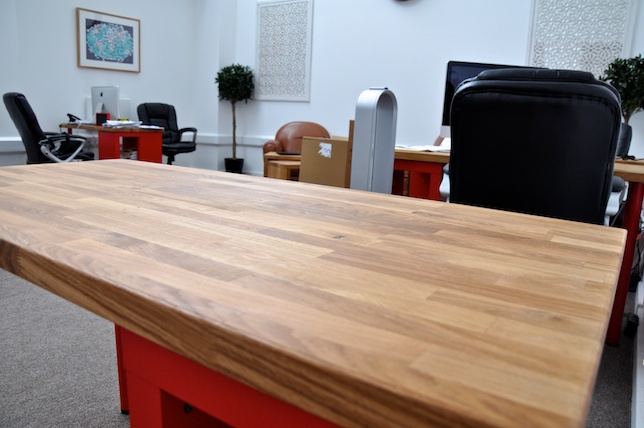
The finished article

Find us on Facebook and Twitter and let us know what you think.